Your Calls Have Been Answered - Die Cut Vinyl Stickers are here!
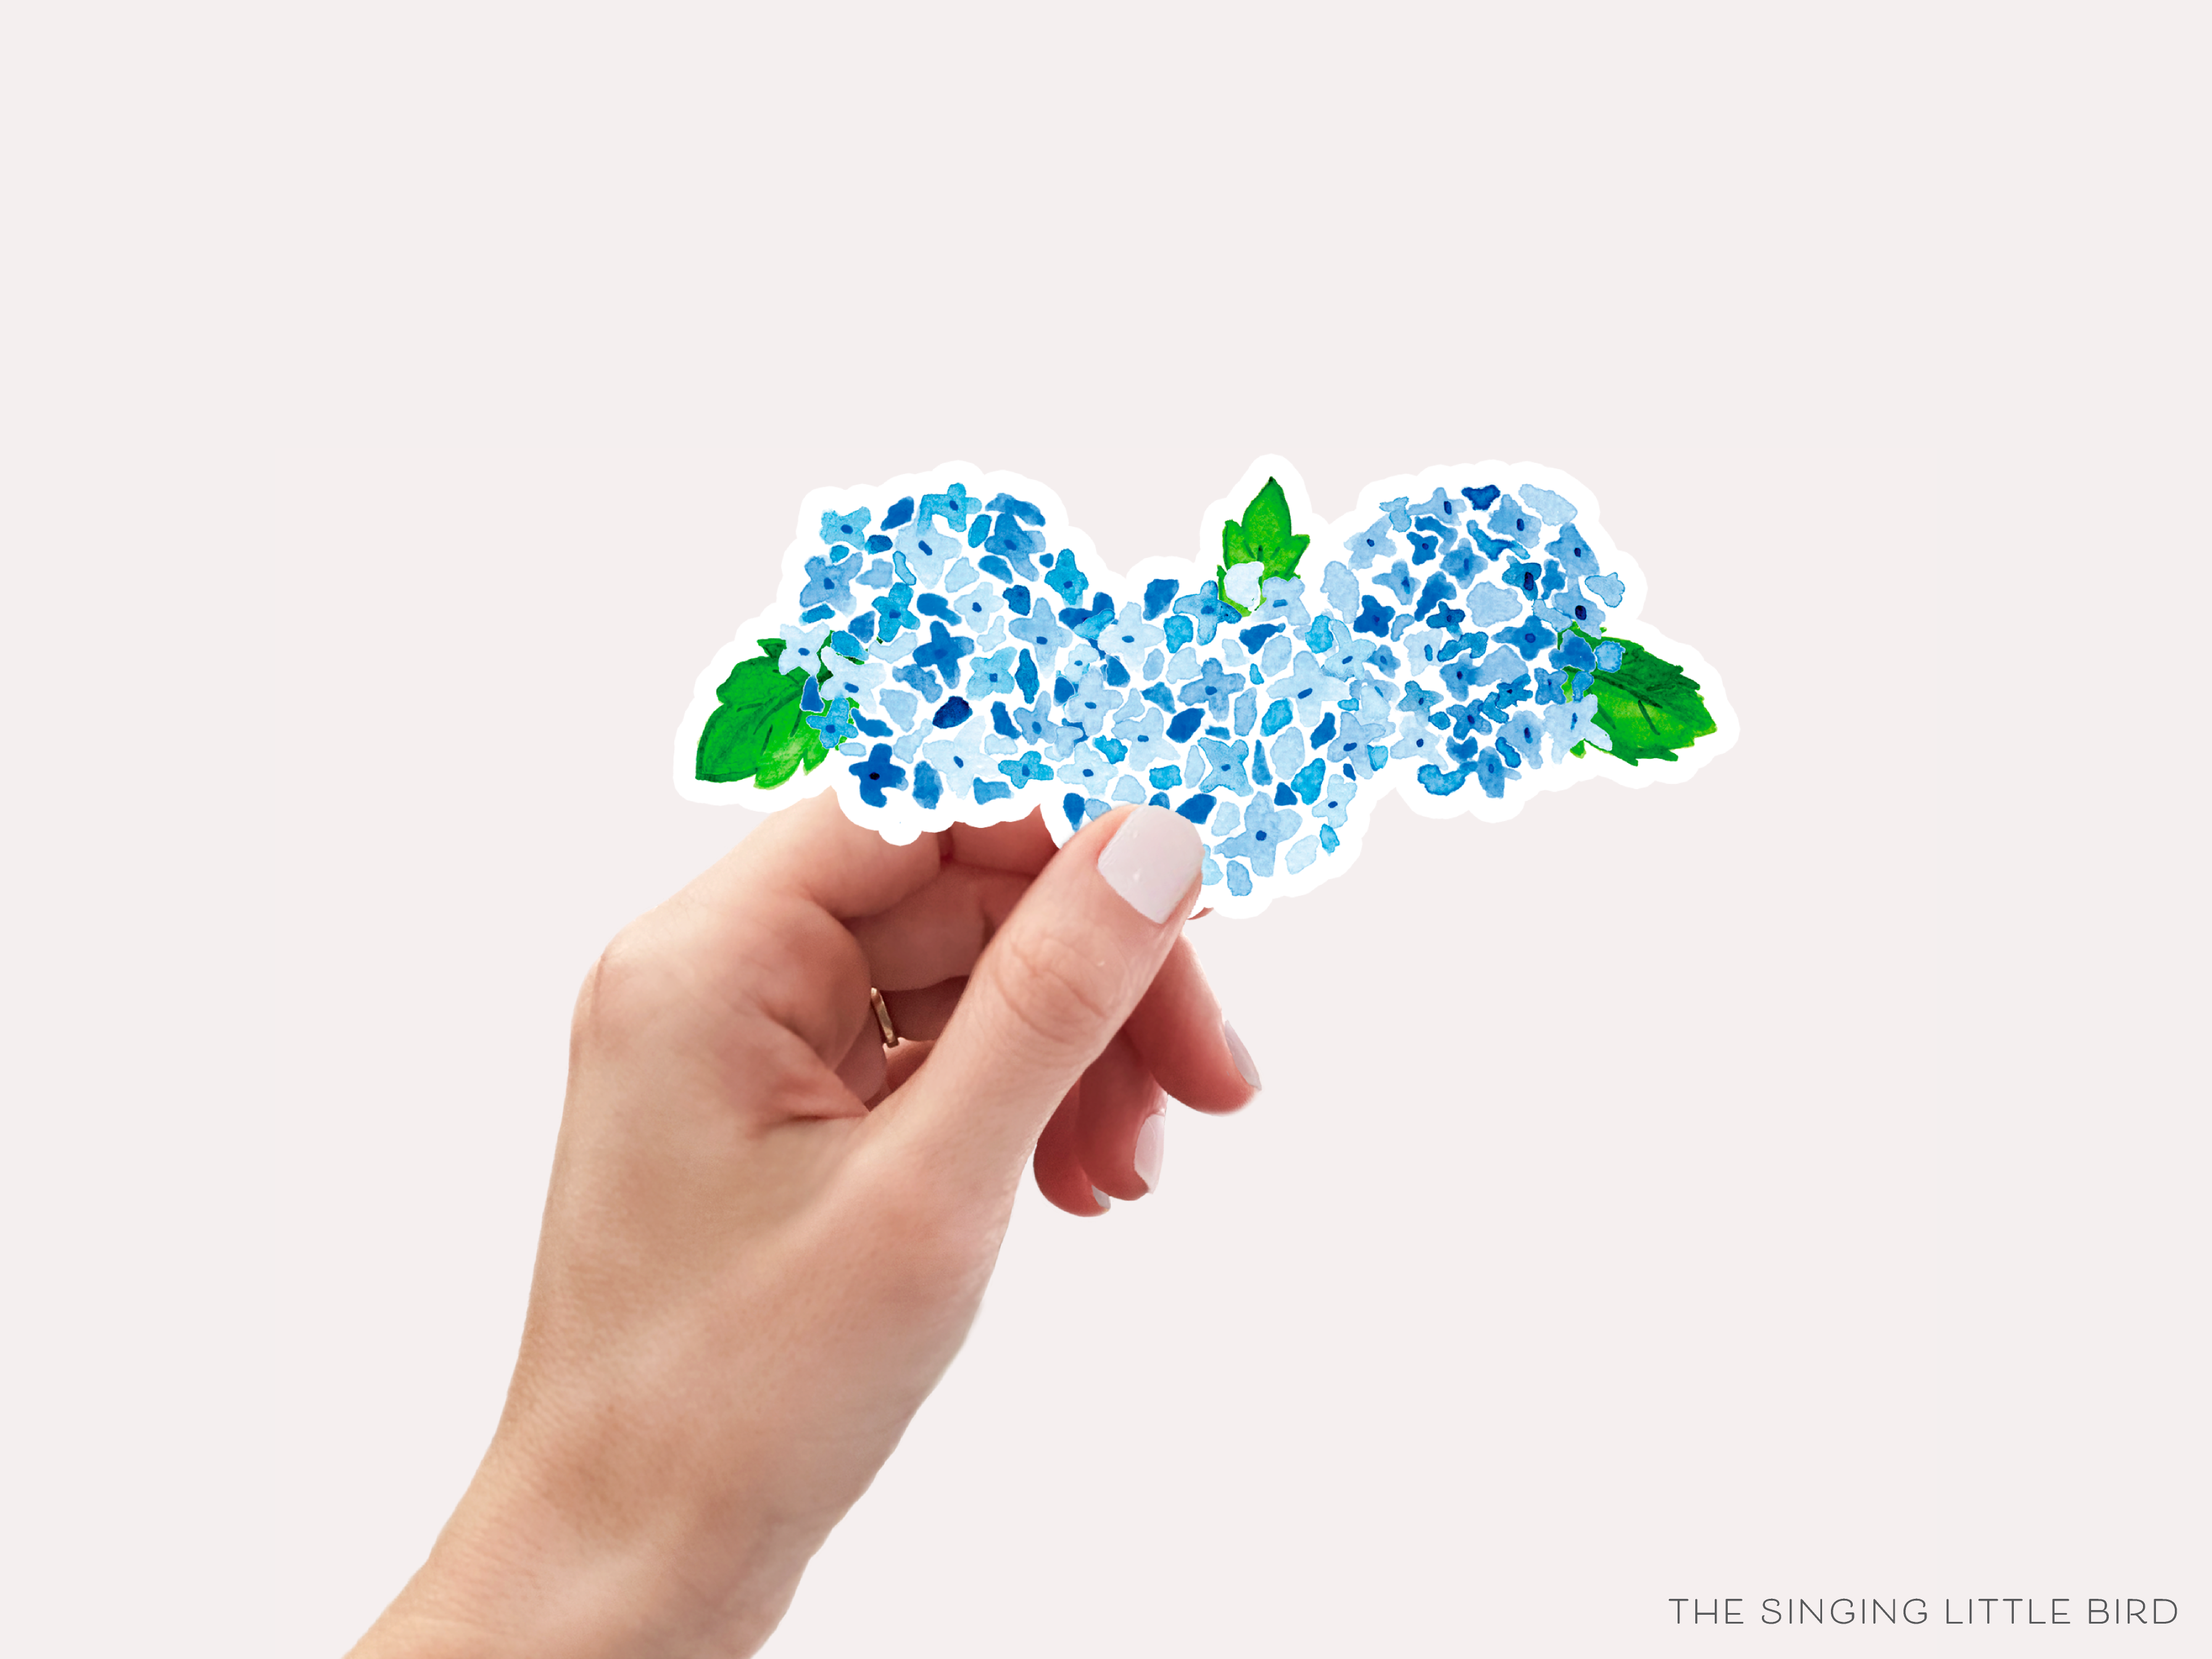
Grab your Hydroflasks and laptops because we’ve got all kinds of weatherproof stickers available for purchase up on our shop! From tennis rackets to hydrangeas (and a lot more to come!), we have adorable options for everyone! Best thing about them? They are all under $5. You guys!! That is cheaper than your morning cup of coffee and they last WAYYYY longer. With these new fun stickers come questions about where to put them and how to apply them. Keep reading for our favorite vinyl sticker tips!
Where Should I Put All These Fun Stickers?
There are endless possibilities with our vinyl stickers! Here’s a list of just a few of the many places you may want to display your new stickers!
Hydrate in Style
Who wants a boring water bottle? Putting one of our stickers on your water bottle or tumbler will make you want to stay hydrated throughout the day!
Study Smarter with Stickers
Our stickers are perfect for laptops and notebooks because they are weatherproof and long-lasting. Sporting a preppy hydrangea sticker on your laptop or notebook will make studying way more fun!
But First, Coffee
Add a sticker to your morning coffee cup for an extra pick-me-up!
Somewhere else? Of course.
Your Guitar, Ukulele, Fridge, Helmet, Whiteboard, Window, Mirror, Phone Case, Clipboard, Planner, Scrapbook, DIY Sticker Side Table and so many more. Let us know where you plan to put your new stickers!!
I’m Ready. Take Me To Get My New Stickers!

How to Apply
For your vinyl sticker to last and stick properly, please follow these steps:
- Before removing the paper backing, find the perfect spot for your sticker.
- Wipe that spot nice and clean. Be sure there are no dust particles or crumbs where you plan to put your sticker - and make sure it is completely dry before placing it!
- Remove part of the backing and adhere the sticky part to your surface. Continue to slowly remove the backing and stick the sticker until the whole backing has been removed. *Pro tip: Use a credit card to adhere the sticker to the surface to reduce air bubbles.*

How to Remove (but is this really necessary?)
We doubt you’ll ever want to remove one of our gorgeous stickers, but in case you do, here’s how!
- Grab your blow dryer and put it on the lowest setting (if your blow dryer has a cool button, that’s even better!)
- Point the hairdryer at the sticker for 30-45 seconds at a time.
- After blowing the warm air onto the sticker a couple of times, it should come off cleanly without any (or with very little) residue!
**PLEASE NOTE: If you are using this method to remove your sticker(s), make sure the heat from your hair dryer won’t damage the surface you’re removing your sticker from!**
Check out our stickers with the link below! We hope you love accessorizing with our cute and colorful designs!
Have a creative way to show off your stickers? Tag us on social media @thesinginglittlebirdshop
Joyfully,
The SLB Team


Leave a comment
This site is protected by hCaptcha and the hCaptcha Privacy Policy and Terms of Service apply.